Self Hosting With Coolify

Self-hosting has become an increasingly attractive option for developers looking to gain more control over their applications and reduce dependency on third-party hosting services. One powerful tool that simplifies the self-hosting process is Coolify. In this article, we’ll explore the benefits of using Coolify for self-hosting, using my blog built with Astro as an example. We’ll also discuss some challenges new users might face and how to overcome them, especially regarding DevOps complexities like SSL and network connections.
Before switching to Coolify, I used Dokku and Netlify for hosting my applications. Each of these solutions has its merits, but they also come with limitations.
Dokku is quite easy to set up, supports a wide range of applications, and allows self-hosting. It however requires more hands-on management and manual configuration for deployments, updates, and scaling. Managing plugins and dependencies can be quite cumbersome especially for someone who does not have DevOps experience.
Netlify is excellent for static site deployments, CI/CD integration and an intuitive interface. It is perfect for frontend projects with a focus on speed and ease of use. It is however limited to static sites and serverless functions. It lacks the flexibility needed for more complex applications or full-stack projects. Monthly costs can add up as the project scales.
The decision to transition from Dokku and Netlify to Coolify was driven by several key factors:
-
Ease of Use: Coolify offers a user-friendly interface that simplifies deployment and management processes, reducing the need for manual intervention compared to Dokku.
-
Versatility: Unlike Netlify, which is ideal for static sites, Coolify supports a wide range of applications, including full-stack projects. This makes it a more versatile solution for developers who need to host diverse types of applications.
-
Cost Efficiency: By allowing me to host applications on personal hardware (like a mini computer) and cloud VPS, Coolify offers a cost-effective alternative to Netlify, where costs can escalate with increased usage.
-
Integrated Features: Coolify’s support for Nixpacks simplifies dependency management, a feature that significantly enhanced my development workflow compared to the more manual setup required by Dokku.
To illustrate the benefits of Coolify, let me share my experience of self-hosting my blog built with Astro. I hosted Coolify on a mini computer in my home but deployed my application to a remote VPS hosted on Civo. This setup provided the best of both worlds: local control with cloud scalability.
Installlig Coolify on my home PC running Ubuntu linux was quitge straightforward. I just ran the following as instructed in the manual;
> curl -fsSL https://cdn.coollabs.io/coolify/install.sh | bash
Once it finished installing, the UI became available on port 8000. The two most important concepts to understand in Coolify are Projects and Servers. In my setup, I configured two servers, my home server where Coolify in installed and the remote server where my application is built and deployed using the Coolify proxy. My project was hosted in a private repository on Github but the process of configuring it as a source was seamless as I was able to create a Github application to grant Coolify permission to access my code. Once configured, all I need to do is make changes, push to the repository and Coolify handles the deployment.
One of the standout features of Coolify is its support for Nixpacks. Nixpacks automatically detects your project’s dependencies and installs them for you, making the setup process much smoother. For my Astro blog, Nixpacks ensured that all necessary packages were installed without any manual intervention, saving time and reducing the risk of errors.
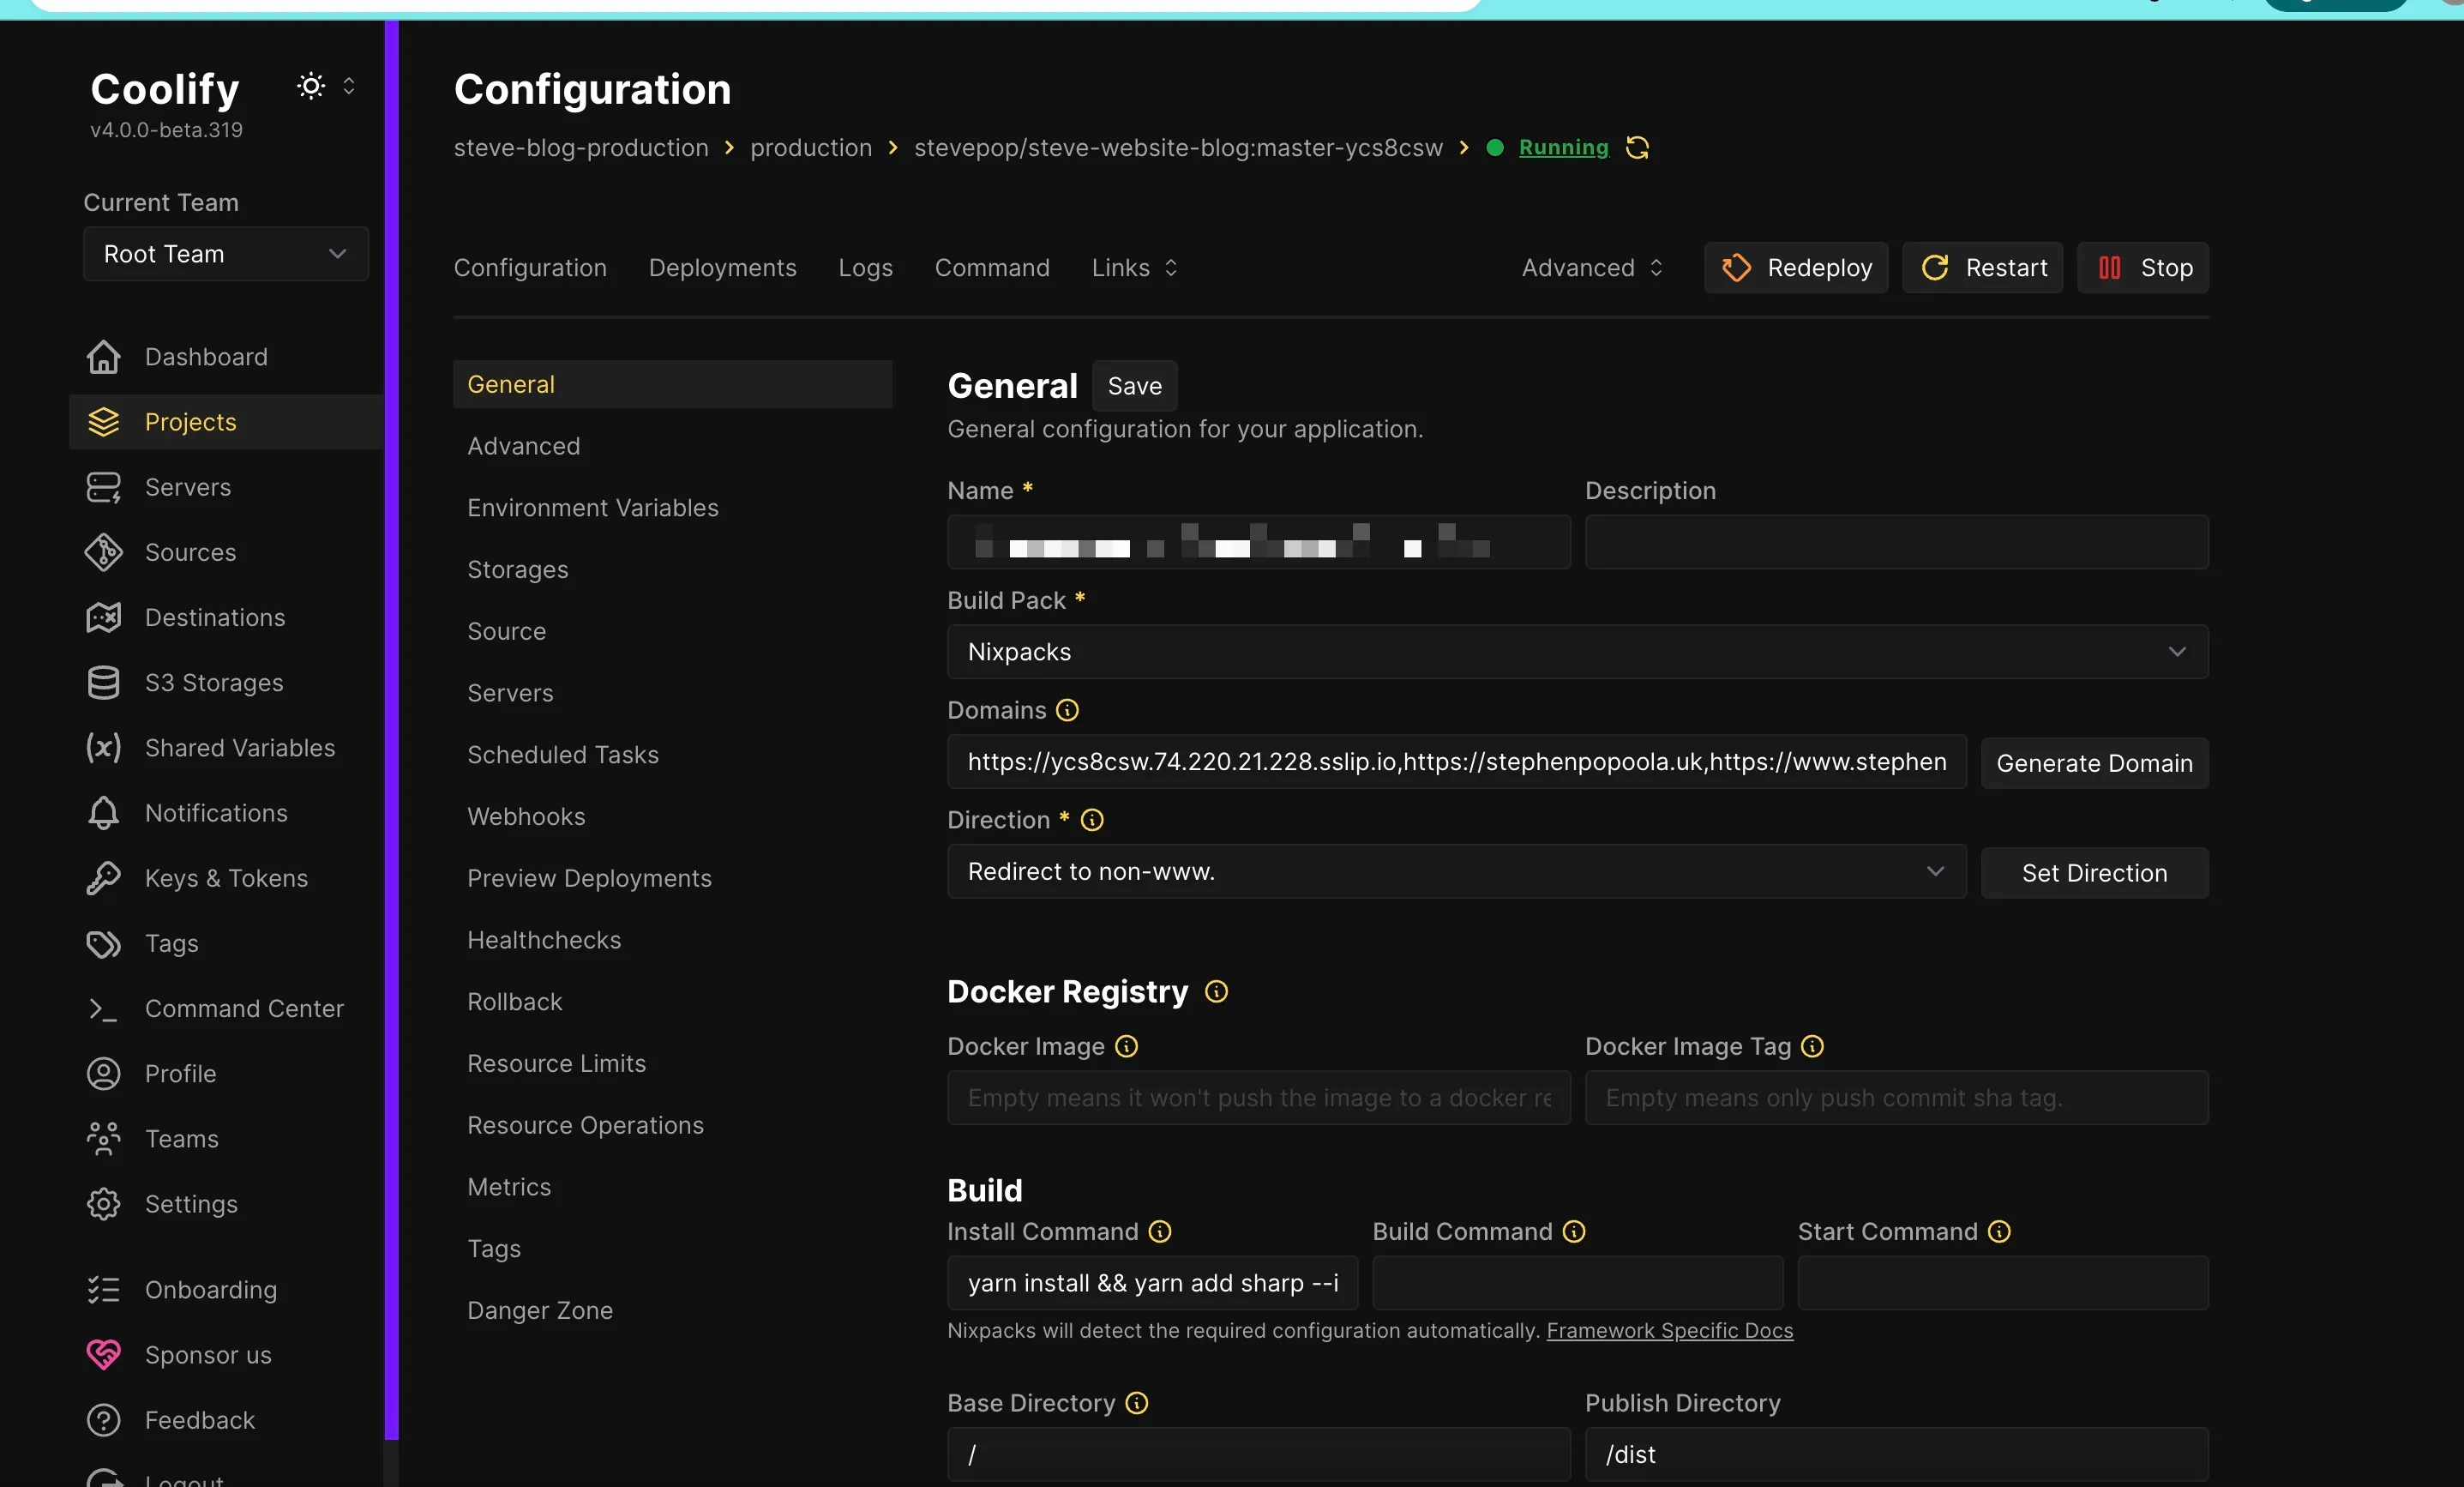
While Coolify simplifies many aspects of self-hosting, new users might encounter some challenges. One issue I faced was related to the Sharp library, which Astro uses for image processing. During the production build, the Sharp dependency kept failing because it wasn’t being installed properly.
To solve this problem, I utilised the “build command” field where you can specify custom commands to run before the build process. By adding yarn install sharp && yarn build to this field, I ensured that Sharp was installed correctly before the build, resolving the issue.
Here’s how I configured the build command in Coolify:
- Open Coolify and navigate to your project settings.
- Locate the “Build Command” field.
- Enter the following command:
yarn install sharp && yarn build - Save the configuration and redeploy your application.
This simple adjustment made all the difference, allowing the build process to complete successfully and ensuring that my blog’s images were processed correctly.
Self-hosting with Coolify offers numerous benefits, from simplified deployment to increased control and cost efficiency. While there may be challenges, such as dependency issues, Coolify provides the tools and flexibility to overcome them easily. By leveraging features like Nixpacks and customizable build commands, you can ensure a smooth self-hosting experience.
My journey of hosting an Astro blog with Coolify demonstrates how powerful and user-friendly this tool can be. Whether you’re a seasoned developer or new to self-hosting, Coolify provides a robust platform to host and manage your applications efficiently. By choosing Coolify over previous solutions like Dokku and Netlify, I gained a versatile, cost-effective, and easy-to-use platform that perfectly meets my hosting needs.