Multitenancy With Sprout For Laravel Applications
Imagine you own an apartment building. Each tenant (or family) lives in their own apartment, but they share the same building, electricity, water supply, and security. Multi-tenancy in software works the same way. It allows multiple users (or tenants) to share the same application while keeping their data separate.
For example, when you login to your Gmail account or host a website, you are sharing resources with other users but you are not aware of who those users are or able to access their data.
Multitenancy is an architectural pattern where a single instance of a software application serves multiple customers (tenants). Each tenant’s data is isolated from other tenants, creating the illusion that each has their own dedicated instance of the application, while in reality, they’re sharing the underlying infrastructure, codebase, and resources.
In modern SaaS (Software as a Service) applications, multitenancy is not just a nice-to-have feature—it’s often a critical requirement for scalability, resource efficiency, and business model viability.
The Problem Sprout Solves
In my experience exploring various approaches to building multi-tenant applications, I’ve often encountered a common challenge—many existing solutions impose rigid structures that dictate how I write my code. Instead of adapting to my specific business logic, these packages require me to modify my approach to fit their constraints, making them more of a limitation than a solution.
What attracted me to Sprout is its ease of use and flexibility, allowing me to implement multitenancy without compromising my existing logic. As we’ll see in our sample application, Sprout seamlessly adapts to different requirements, making it a more natural fit for real-world use cases.
Building “CRMPro” - A Practical Implementation
Okay, enough talk, let’s get our hands dirty as we explore Sprout!
Prerequisites
Before we begin, make sure you have the following installed on your machine:
- PHP >= 8.2
- Composer: Dependency manager for PHP.
- Node.js and npm: Node.js and npm are required for managing frontend dependencies.
- Laravel Herd or Valet: For managing local development environments with custom domains.
- SQLite or any other supported database: If not using SQLite, Ensure you have a database server running.
Additionally, you should have a basic understanding of Laravel and its ecosystem, including routing, models, migrations, and controllers.
For this tutorial, we’ll build “CRMPro” - a lightweight SaaS product with just the essential CRM features. Our focus will be on demonstrating multitenancy principles rather than building a feature-rich application. Each business (tenant) will have: 1 A dedicated subdomain (e.1., acme.crmpro.com) 2 Complete data isolation from other tenants 3 Basic contact management capabilities 4 Simple user authentication and authorization
We will be using Laravel v11 for this tutorial. It is possible that by the time you are reading this, Laravel v12 would have been released. I recommend that if you are following along, you use the same version and upgrade later.
composer create-project laravel/laravel:^11.0 crm-pro
We will be installing the relavant packages to be used for this application:
cd crm-pro
composer require laravel/breeze --dev
php artisan breeze:install
Let’s install TailwindCSS if it has not already been installed:
npm install -D tailwindcss postcss autoprefixer
npx tailwindcss init -p
Update the relevant configuration files:
//vite.config.js
import { defineConfig } from 'vite';
import laravel from 'laravel-vite-plugin';

export default defineConfig({
    plugins: [
        laravel({
            input: ['resources/css/app.css', 'resources/js/app.js'],
            refresh: true,
        }),
    ],
});


//tailwind.config.js
import defaultTheme from 'tailwindcss/defaultTheme';
import forms from '@tailwindcss/forms';

/** @type {import('tailwindcss').Config} */
export default {
    content: [
        './vendor/laravel/framework/src/Illuminate/Pagination/resources/views/*.blade.php',
        './storage/framework/views/*.php',
        './resources/views/**/*.blade.php',
    ],

    theme: {
        extend: {
            fontFamily: {
                sans: ['Figtree', ...defaultTheme.fontFamily.sans],
            },
        },
    },

    plugins: [forms],
};

// resource/css/app.css
@tailwind base;
@tailwind components;
@tailwind utilities;
Run the follwing and make sure you can access the default home page for a new Laravel application
npm run dev
Now it’s time to install Sprout
composer require sprout/sprout
According to the documentation, Sprout’s service provider makes use of Laravel’s autodiscovery. If this is not working for any reason, then you can manually register it in bootstrap/app.php before the AppServiceProvider
return [
   Sprout\SproutServiceProvider::class,
   App\Providers\AppServiceProvider::class,
];
Publish the configuration:
php artisan vendor:publish --provider="Sprout\SproutServiceProvider"
With all that done, we can now proceed to creating the CRM core structure with Sprout.
First, let’s create our Tenant model to represent each organisation using our CRM. The great thing about Sprout is that it supports Eloquent out of the box so it suits our use-case pretty well. Let’s create our Organisation model:
php artisan make:model Organisation -mf
Add the Tenant interface and the isTenant trait to the model:
<?php
// app/Models/Tenant.php
namespace App\Models;

use Illuminate\Database\Eloquent\Model;
use Sprout\Contracts\Tenant;
use Sprout\Database\Eloquent\Concerns\IsTenant;

class Organisation extends Model implements Tenant
{
    use IsTenant;
}
The next step is to customise the Sprout configuration for our tenancy. To do this, we need to make changes in our config/multitenancy.php file:
'providers' => [
    'tenants' => [
        'driver' => 'eloquent',
        'model'  => \App\Models\Organisation::class,
    ],
],
Now that we have created our Tenant, the next thing we need to do is to determine how our tenant will be identified. According to Sprout documentation, this can be done with subdomains, paths, headers, session or cookies. For our CRM application, we will be using subdomains.
We will need to tell our application what our main domain is. We are working in our local environment so we will need to specify this in our .env file. I am using Laravel Herd so I have the following local domain for the project:
TENANTED_DOMAIN=crm-pro.test // or whatever your app's local domain is
Right now, Sprout knows our Tenant model but it needs to know how to resolve it when requests are made to our application. We do this by implementing getTenantIdentifierName in our Organisation model:
 public function getTenantIdentifierName(): string {
        return 'subdomain';
 }
That’s all we need to make our application multi-tenanted. Well, not quite, we still need to structure our database and create Tenant children but the main tenant logic is already in place.
Before we proceed further, let’s create our database tables. We will be creating the following:
- organisations
- users
- contacts
- notes
Let’s create the models with the flags to create the migrations for us
 php artisan make:model Contact -mf
 php artisan make:model Note -mf
Then we edit the migration files according:
<?php

use Illuminate\Database\Migrations\Migration;
use Illuminate\Database\Schema\Blueprint;
use Illuminate\Support\Facades\Schema;

return new class extends Migration
{
    /**
     * Run the migrations.
     */
    public function up(): void
    {
        Schema::create('organisations', function (Blueprint $table) {
            $table->id();
            $table->string('name');
            $table->string('email')->nullable();
            $table->string('phone')->nullable();
            $table->string('address')->nullable();
            $table->text('subdomain');
            $table->timestamps();
        });
    }

    /**
     * Reverse the migrations.
     */
    public function down(): void
    {
        Schema::dropIfExists('organisations');
    }
};
<?php

use Illuminate\Database\Migrations\Migration;
use Illuminate\Database\Schema\Blueprint;
use Illuminate\Support\Facades\Schema;

return new class extends Migration
{
    /**
     * Run the migrations.
     */
    public function up(): void
    {
        Schema::create('contacts', function (Blueprint $table) {
            $table->id();
            $table->foreignId('organisation_id')->constrained()->cascadeOnDelete();
            $table->foreignId('assigned_user_id')->nullable()->constrained('users')->nullOnDelete();
            $table->string('name');
            $table->string('email');
            $table->string('phone')->nullable();
            $table->enum('status', ['lead', 'customer', 'inactive'])->default('lead');
            $table->timestamp('last_contacted_at')->nullable();
            $table->timestamps();
        });
    }

    /**
     * Reverse the migrations.
     */
    public function down(): void
    {
        Schema::dropIfExists('contacts');
    }
};
<?php

use Illuminate\Database\Migrations\Migration;
use Illuminate\Database\Schema\Blueprint;
use Illuminate\Support\Facades\Schema;

return new class extends Migration
{
    /**
     * Run the migrations.
     */
    public function up(): void
    {
        Schema::create('notes', function (Blueprint $table) {
            $table->id();
            $table->foreignId('contact_id')->constrained()->cascadeOnDelete();
            $table->foreignId('user_id')->constrained()->cascadeOnDelete();
            $table->text('content');
            $table->timestamps();
        });
    }

    /**
     * Reverse the migrations.
     */
    public function down(): void
    {
        Schema::dropIfExists('notes');
    }
};
We need to create an additional migration to link our users to their organisations:
php artisan make:migration add_organisation_id_to_users_table --table=users
Then we edit as follows:
<?php

use Illuminate\Database\Migrations\Migration;
use Illuminate\Database\Schema\Blueprint;
use Illuminate\Support\Facades\Schema;

return new class extends Migration
{
    /**
     * Run the migrations.
     */
    public function up(): void
    {
        Schema::table('users', function (Blueprint $table) {
            $table->foreignId('organisation_id')
                ->nullable()
                ->constrained()
                ->cascadeOnDelete();
        });
    }

    /**
     * Reverse the migrations.
     */
    public function down(): void
    {
        Schema::table('users', function (Blueprint $table) {
    		$table->dropConstrainedForeignId('organisation_id');
		});
    }
};
Run the migration with:
php artisan migrate
Now that we have all our database tables in place, we can update our models. In the User model below, notice that we have added the attribute #[TenantRelation] to organisations relation. This is all we really need to do, to let Sprout know to that this is a Tenant child model.
<?php
// app/Models/User.php

namespace App\Models;

use Illuminate\Contracts\Auth\MustVerifyEmail;
use Illuminate\Database\Eloquent\Factories\HasFactory;
use Illuminate\Database\Eloquent\Relations\BelongsTo;
use Illuminate\Foundation\Auth\User as Authenticatable;
use Illuminate\Notifications\Notifiable;
use Sprout\Attributes\TenantRelation;

class User extends Authenticatable
{

    /** @use HasFactory<\Database\Factories\UserFactory> */
    use HasFactory, Notifiable;

    /**
     * The attributes that are mass assignable.
     *
     * @var list<string>
     */
    protected $fillable = [
        'name',
        'email',
        'password',
        'organisation_id',
    ];

    /**
     * The attributes that should be hidden for serialization.
     *
     * @var list<string>
     */
    protected $hidden = [
        'password',
        'remember_token',
    ];

    /**
     * Get the attributes that should be cast.
     *
     * @return array<string, string>
     */
    protected function casts(): array
    {
        return [
            'email_verified_at' => 'datetime',
            'password' => 'hashed',
        ];
    }

    #[TenantRelation]
    public function organisation() :BelongsTo
    {
        return $this->belongsTo(Organisation::class);
    }

    /**
     * Get the notes created by the user.
     */
    public function notes()
    {
        return $this->hasMany(Note::class);
    }
}
Let’s update the other models:
<?php
// app/Models/Contact.php
namespace App\Models;

use Illuminate\Database\Eloquent\Model;
use Illuminate\Database\Eloquent\Relations\BelongsTo;
use Illuminate\Database\Eloquent\Relations\HasMany;
use Sprout\Attributes\TenantRelation;
use Sprout\Database\Eloquent\Concerns\BelongsToTenant;

class Contact extends Model
{
    use BelongsToTenant;

    /**
     * The attributes that are mass assignable.
     *
     * @var array<int, string>
     */
    protected $fillable = [
        'name',
        'email',
        'phone',
        'status',
        'assigned_user_id',
        'last_contacted_at',
        'organisation_id',
    ];

    /**
     * The attributes that should be cast.
     *
     * @var array<string, string>
     */
    protected $casts = [
        'last_contacted_at' => 'datetime',
    ];

    #[TenantRelation]
    public function organisation(): BelongsTo
    {
        return $this->belongsTo(Organisation::class);
    }

    public function user(): BelongsTo
    {
        return $this->belongsTo(User::class, 'assigned_user_id');
    }

    public function notes(): HasMany
    {
        return $this->hasMany(Note::class);
    }

    public function scopeStatus($query, $status)
    {
        return $query->where('status', $status);
    }

    public function scopeAssignedTo($query, $userId)
    {
        return $query->where('assigned_user_id', $userId);
    }

    /**
     * Get the contact's status label.
     */
    public function getStatusLabelAttribute()
    {
        return match($this->status) {
            'lead' => 'Lead',
            'customer' => 'Customer',
            'inactive' => 'Inactive',
            default => 'Unknown'
        };
    }
}
Notice that in the Note model below, we don’t have the #[TenantRelation] attribute. This is because Note is not a Tenant child model, it belongs to the Contact model which is Tenant child, so we don’t need to identify it in relation to a tenant.
<?php

// app/Models/Note.php

namespace App\Models;

use Illuminate\Database\Eloquent\Model;
use Illuminate\Database\Eloquent\Relations\BelongsTo;
use Sprout\Database\Eloquent\Concerns\BelongsToTenant;

class Note extends Model
{
    protected $fillable = ['contact_id', 'user_id', 'content'];

    public function contact() :BelongsTo
    {
        return $this->belongsTo(Contact::class);
    }

    public function user() :BelongsTo
    {
        return $this->belongsTo(User::class);
    }
}
Finally, we update our Organisation model
<?php

// app/Models/Organisation.php

namespace App\Models;

use Illuminate\Database\Eloquent\Model;
use Illuminate\Database\Eloquent\Relations\HasMany;
use Sprout\Contracts\Tenant;
use Sprout\Database\Eloquent\Concerns\HasTenantResources;
use Sprout\Database\Eloquent\Concerns\IsTenant;

class Organisation extends Model implements Tenant
{
    use IsTenant;

    protected $fillable = [
        'name',
        'email',
        'phone',
        'subdomain'
    ];

    /**
     * Get the contacts for the organisation.
     */
    public function contacts(): HasMany
    {
        return $this->hasMany(Contact::class);
    }

    /**
     * Get the users for the organisation.
     */
    public function users(): HasMany
    {
        return $this->hasMany(User::class);
    }

    public function getTenantIdentifierName(): string {
        return 'subdomain';
    }
}
Our application is now multitenanted. One more thing we need to do is change how sessions are managed. By default, Laravel uses database for sessions but for this tutorial we don’t need that so we will change this ito file n our .env file. This way we don’t need to create the sessions table.
SESSION_DRIVER=file
To test our application, we need to seed our database. For the sake brevity, I have combined the seeders into one but in practice it is better to split them.
<?php

namespace Database\Seeders;

use App\Models\Contact;
use App\Models\Note;
use App\Models\Organisation;
use App\Models\User;
use Illuminate\Database\Seeder;
use Illuminate\Support\Facades\Hash;
use Carbon\Carbon;

class MultitenancyDemoSeeder extends Seeder
{
    /**
     * Run the database seeds.
     */
    public function run(): void
    {
        $this->command->info('Creating organisations, users, and contacts for demo...');

        // Define two sample organisations for the demo
        $organisations = [
            [
                'name' => 'Acme Corporation',
                'email' => '[email protected]',
                'phone' => '555-123-4567',
                'subdomain' => 'acme'
            ],
            [
                'name' => 'Globex Industries',
                'email' => '[email protected]',
                'phone' => '555-987-6543',
                'subdomain' => 'globex'
            ]
        ];

        // Sample contact data
        $sampleContacts = [
            ['name' => 'John Smith', 'email' => '[email protected]', 'phone' => '555-123-4567'],
            ['name' => 'Jane Doe', 'email' => '[email protected]', 'phone' => '555-234-5678'],
            ['name' => 'Michael Johnson', 'email' => '[email protected]', 'phone' => '555-345-6789'],
            ['name' => 'Emily Davis', 'email' => '[email protected]', 'phone' => '555-456-7890']
        ];

        foreach ($organisations as $orgData) {
            // Create the organisation
            $org = Organisation::create($orgData);
            $this->command->info("Created organisation: {$orgData['name']} (subdomain: {$orgData['subdomain']})");

            // Create users for this organisation
            $users = [];

            // Admin user
            $users[] = User::create([
                'name' => $org->name . ' Admin',
                'email' => 'admin@' . $org->subdomain . '.test',
                'password' => Hash::make('password123'),
                'organisation_id' => $org->id,
                'email_verified_at' => now(),
            ]);

            // Regular user
            $users[] = User::create([
                'name' => $org->name . ' User',
                'email' => 'user@' . $org->subdomain . '.test',
                'password' => Hash::make('password123'),
                'organisation_id' => $org->id,
                'email_verified_at' => now(),
            ]);

            $this->command->info("Created users for {$org->name}");

            // Create sample contacts with different statuses
            $statuses = ['lead', 'customer', 'inactive'];

            foreach ($sampleContacts as $index => $contactData) {
                $status = $statuses[$index % count($statuses)];
                $assignedUser = $users[$index % count($users)];

                // Determine last_contacted_at based on status
                if ($status === 'customer') {
                    $lastContactedAt = Carbon::now()->subDays(rand(0, 14));
                } elseif ($status === 'lead') {
                    $lastContactedAt = Carbon::now()->subDays(rand(7, 30));
                } else { // inactive
                    $lastContactedAt = Carbon::now()->subDays(rand(60, 120));
                }

                // Create the contact with tenant relation
                $contact = new Contact([
                    'name' => $contactData['name'],
                    'email' => $contactData['email'],
                    'phone' => $contactData['phone'],
                    'status' => $status,
                    'assigned_user_id' => $assignedUser->id,
                    'last_contacted_at' => $lastContactedAt,
                ]);

                // Set the organisation relation
                $contact->organisation()->associate($org);
                $contact->save();

                // Add a sample note for each contact
                $note = new Note([
                    'content' => "Initial contact with {$contactData['name']}. Status: {$status}",
                    'user_id' => $assignedUser->id,
                ]);

                $note->contact()->associate($contact);
                $note->save();
            }

            $this->command->info("Created contacts for {$org->name}");
        }

        // Create a super admin not tied to any organisation
        User::create([
            'name' => 'Super Admin',
            'email' => '[email protected]',
            'password' => Hash::make('password123'),
            'email_verified_at' => now(),
        ]);

        $this->command->info('Created Super Admin: [email protected]');
        $this->command->info('All users created with password: password123');
        $this->command->info('Multitenancy demo data seeded successfully!');
    }
}
Add the Seeder to the DatabaseSeeder:
<?php

namespace Database\Seeders;

use Illuminate\Database\Seeder;

class DatabaseSeeder extends Seeder
{
    /**
     * Seed the application's database.
     */
    public function run(): void
    {
        $this->call([
           MultitenancyDemoSeeder,
        ]);
    }
}
Spout provides a convenient Route macro that makes it easy to define routes for each tenant. This macro automatically resolves the tenant based on the request and allows you to define routes specific to each tenant. All non-tenant routes should be defined outside of the tenanted callback.
<?php

use App\Http\Controllers\DashboardController;
use App\Http\Controllers\ProfileController;
use Illuminate\Support\Facades\Route;

Route::get('/', function () {
    return view('welcome');
});

Route::tenanted(function () {
    Route::get('/login', [App\Http\Controllers\Auth\AuthenticatedSessionController::class, 'create'])->name('login');
    Route::post('/login', [App\Http\Controllers\Auth\AuthenticatedSessionController::class, 'store']);
    Route::post('/logout', [App\Http\Controllers\Auth\AuthenticatedSessionController::class, 'destroy'])->name('logout');
    Route::get('/dashboard', [DashboardController::class, 'index'])->name('dashboard');

    Route::middleware('auth')->group(function () {
        Route::get('/profile', [ProfileController::class, 'edit'])->name('profile.edit');
        Route::patch('/profile', [ProfileController::class, 'update'])->name('profile.update');
        Route::delete('/profile', [ProfileController::class, 'destroy'])->name('profile.destroy');
    });
});


require __DIR__.'/auth.php';
If you are following along and want to test the application, you will need to create a controller for the CRM. You can copy the code from the following files in github
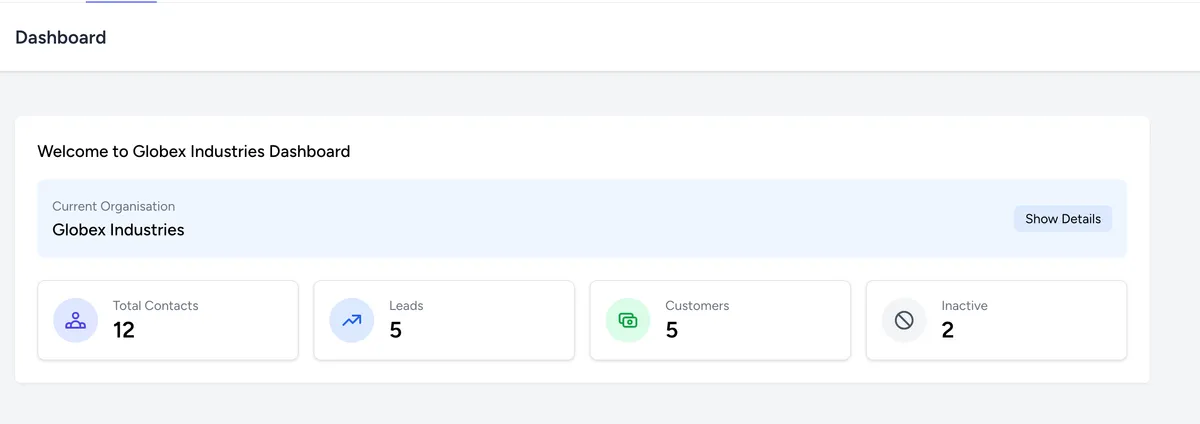
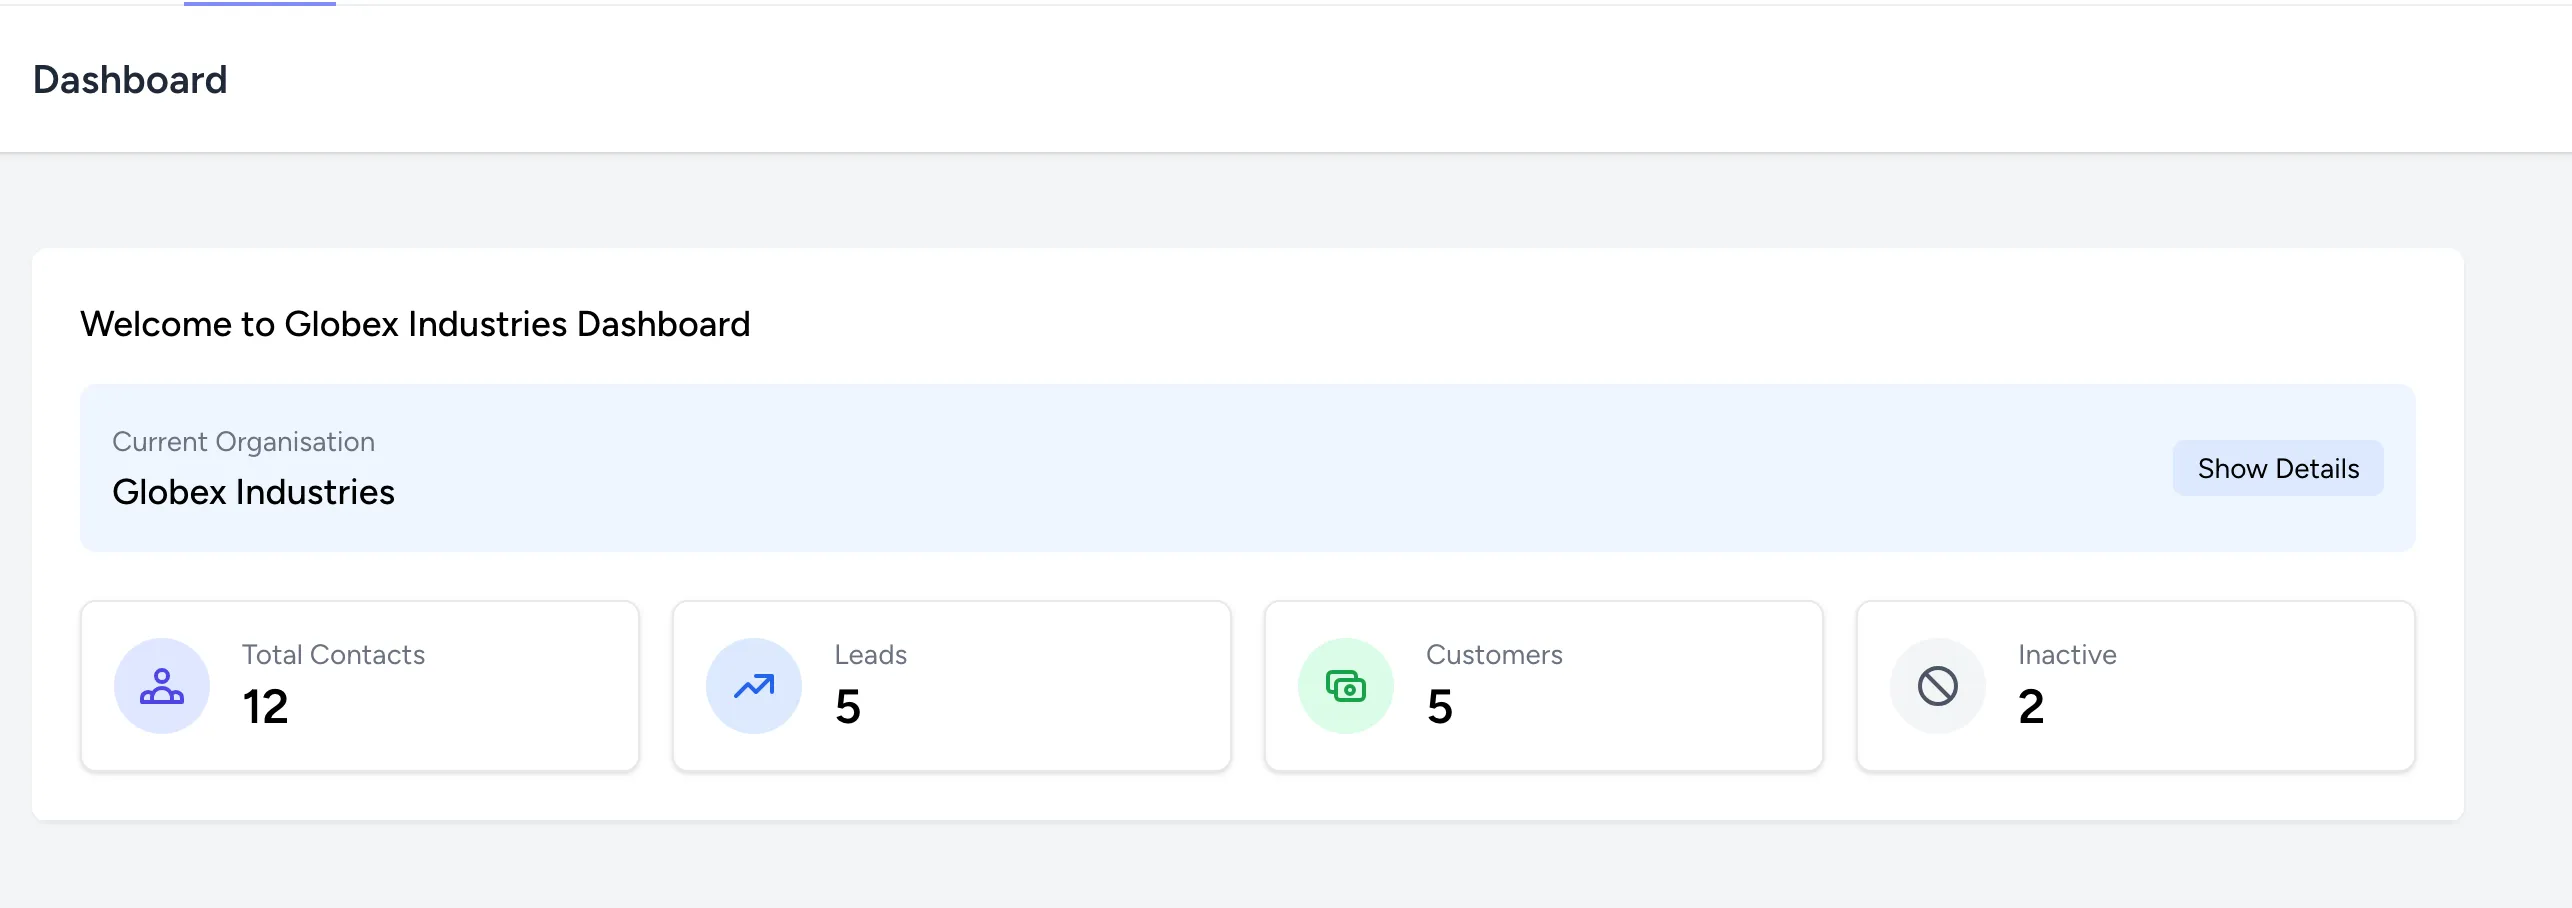
If you have followed every step, you should now have a fully functional multitenant application. To test, visit the subdomain of one of the tenants, for example, globex. http://globex.crm-pro.test (or globex.localhost if you are running php artisan serve)
You should see the what looks like the following:
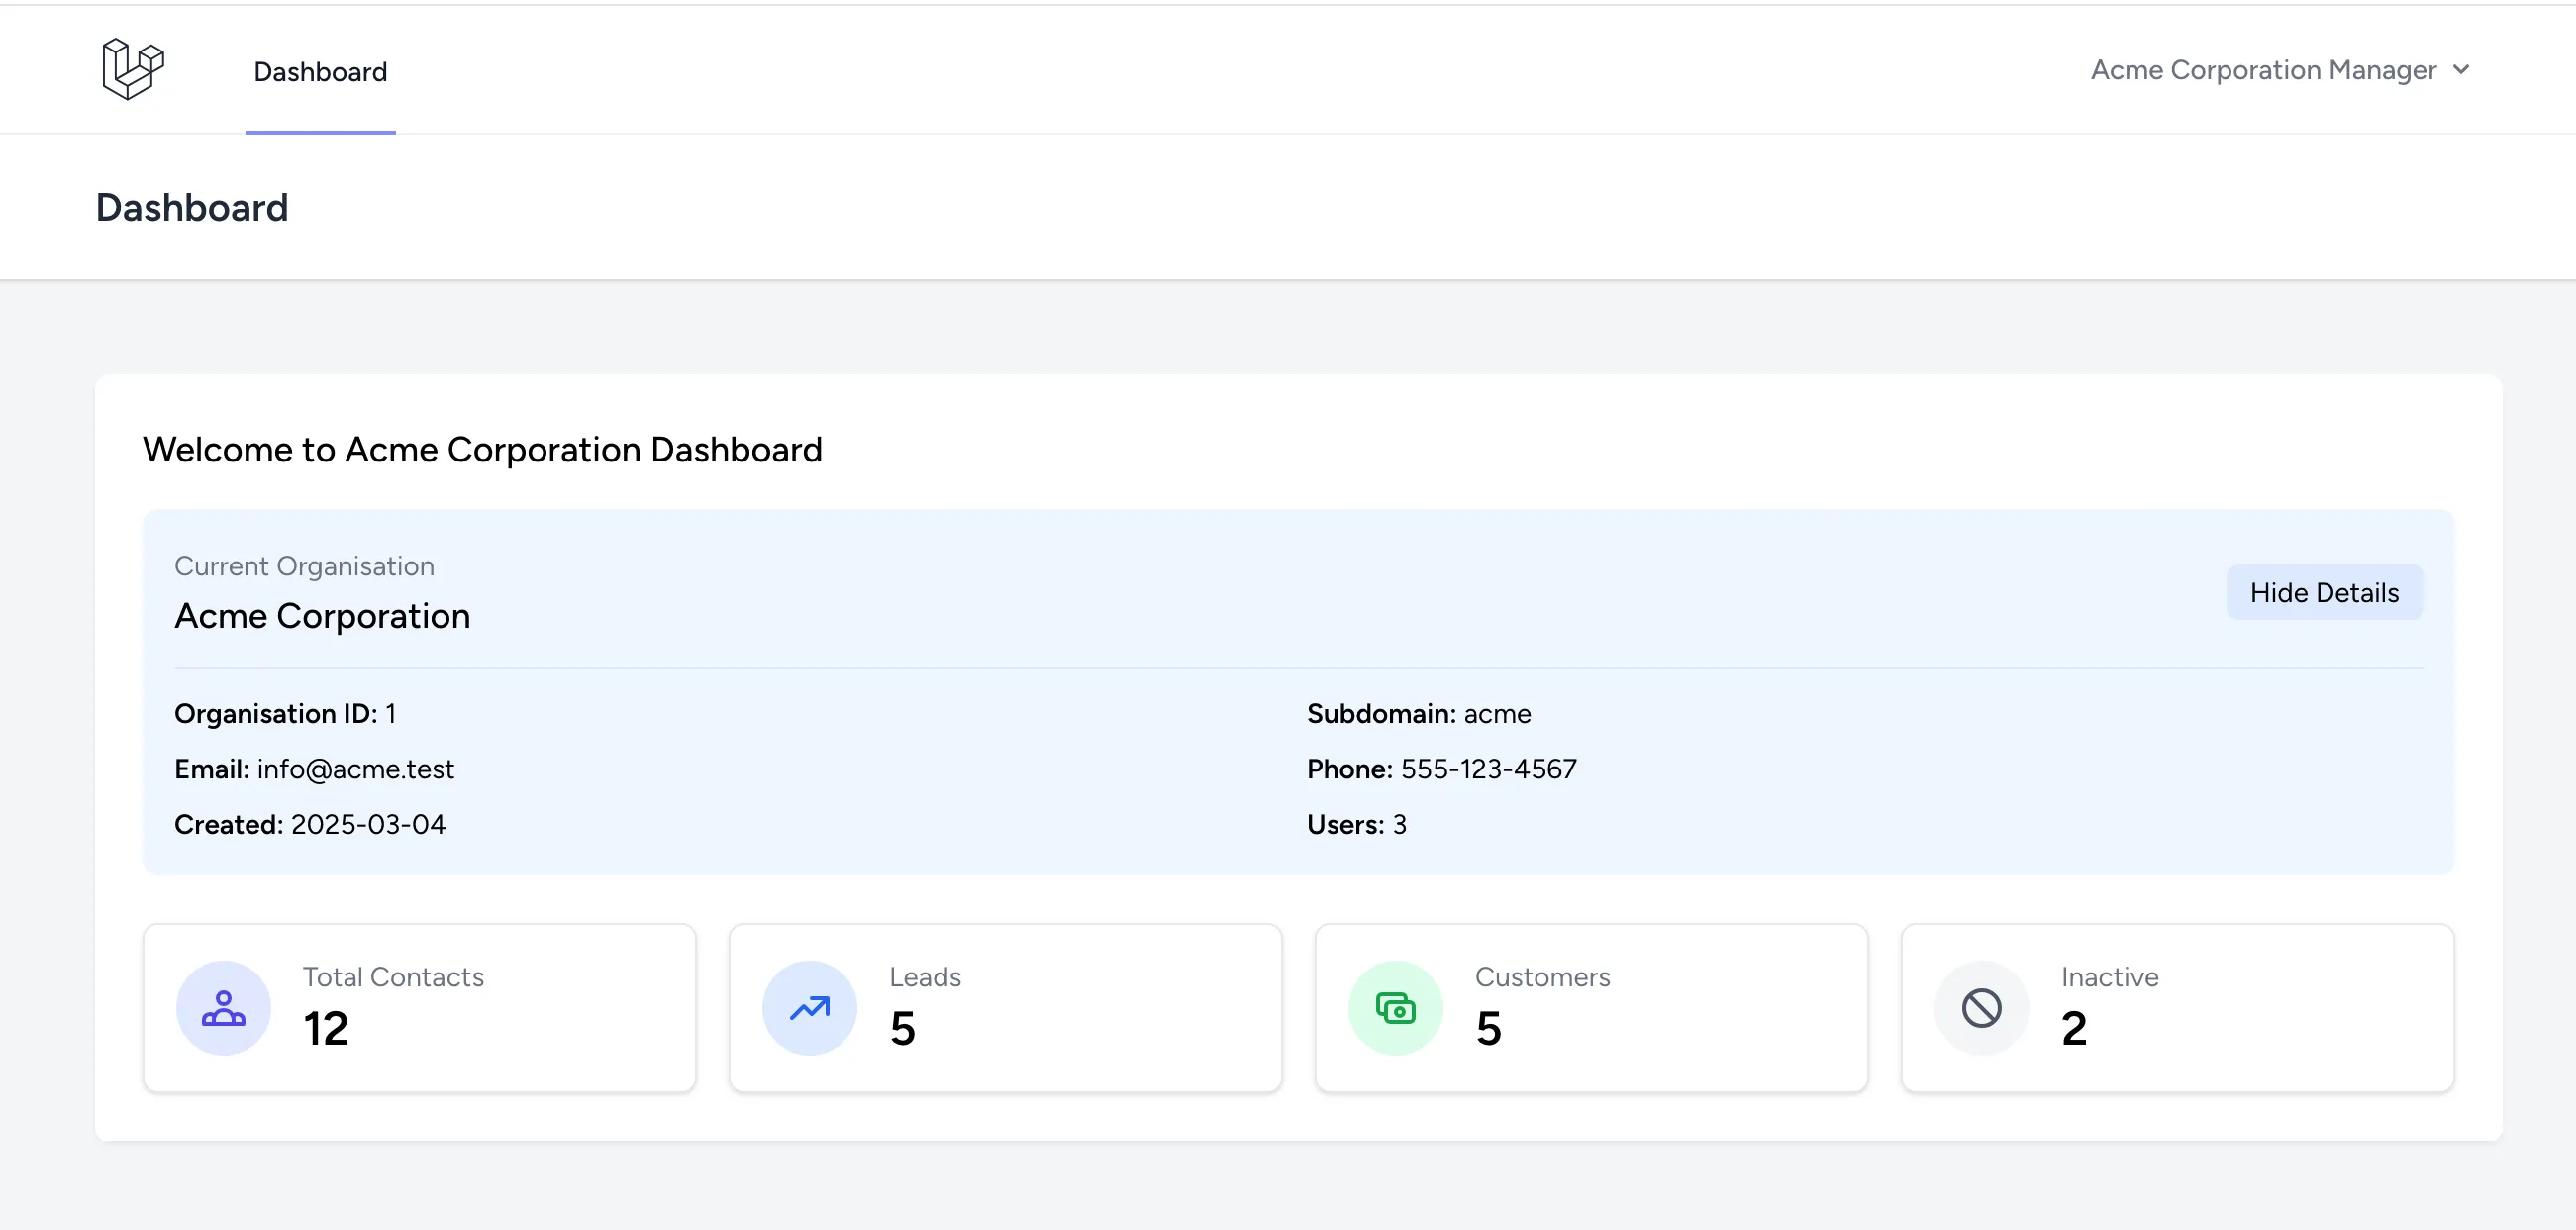
To test that the data is isolated, logout of the applcation and visit the other tenant subdomain, for example, acme. http://acme.crm-pro.test (or acme.localhost if you are running php artisan serve)
Login with one of the users in that subdomain amd you should see a different set of data with the organisation as shown below:
Conclusion
Implementing multi-tenancy in Laravel applications is significantly simplified by using the Sprout package. In this article, we’ve walked through creating a multi-tenant CRM application using a single database architecture with tenant data isolation. The subdomain approach for tenant identification provides a clean, user-friendly way to separate tenant environments while maintaining a unified codebase.
Limitations and Future Considerations
While the Sprout package offers an elegant solution for single-database multi-tenancy, it’s important to note that it’s still under active development and does not currently support multiple databases. If your application requires more complex multi-tenancy features, such as separate databases for each tenant, you may need to explore other solutions or wait for future Sprout releases.
The complete source code is available on GitHub. If you find any bugs or run into issues during development, feel free to open an issue or reach out to me on Twitter at @stpopoola.