Batch Processing With AWS Batch - Part 2
In Part 1 of this topic, we started looking into AWS Batch as a solution to a problem, which needed to automated with batch processing. We began by simulating the problem with the creation of a large number of files in an S3 bucket using a script. We created and configured our custom docker image to process the job and we pushed the image to our Amazon Elastic Container Repository (Amazon ECR)
Configure Batch Compute Environment
Next, we need to set up a compute environment and job definition. This involves setting up the compute environment to run our jobs. AWS offers three ochestration types; Fargate, EC2 and Elastic Kubernetes (EKS). For the purpose of this tutorial, we will use Fargate which is the recommended option as it launches and scales the compute to closely match the resource requirement that you specify for the container.
Once you are logged in, enter ‘batch’ in the search box at the top. If you haven’t accessed AWS Batch before, you will see the landing page with a button “Get started”, click on the button.
One thing to look out for, which tripped me up is to ensure that you select the right region. If you create a batch in a different region from your default region, you will get an error, “unable to fetch credentials”.
First, we will set up a compute environment. This is the environment that AWS Batch will run in. Click on ‘Compute environments in the sidebar’
- Click on Fargate
- Enter a name in the Name field (ie compute-environment-for-s3-job)
- Click next
- On the instance configuration page, enter the maximum vCPUs (256)
- Accept the defaults by clicking ‘Next’
- Click on ‘Create comput environment’ button
Configure Job Definition.
- On the “Configure job and orchestration type” page, select Fargate.
- On the “Create a compute environment” page, enter your environment name, Example: “remove-large-files-from-s3-env”
- Execution role: This is very important. Task execution role grants EC2 agents permission to make AWS API calls on your behalf. Without this, your jobs will fail. If you haven’t done this, follow the steps;
- Head over to the IAM page, click on roles
- Click on the “Create role” button
- Select AWS Service
- Under use case, select EC2
- Click next and under ‘Add permissions’, search of “S3”. Select the appropriate permissions. For this simulation, I selected “AmazonS3FullAccess”
- Enter Role name and click on ‘Create role’
Back in our job configuration page, for “Execution role” select the role you just created. For the container configuration, you will need to enter the URI of your repository. You can copy this from your ECR repository. It should something like, “12341234.dkr.ecr.eu-west-2.amazonaws.com/aws-batch-s3:latest”. Click “next” till you get to the last page where you’ll see the ‘Create job definition’ button. Click on that and we are done defining our job.
Configure Create Job Queue.
Next we create a job queue. This is to enable AWS Batch know how to queue the jobs especially where a large number of jobs are being executed.
- Click on Job queues in the left menu icon
- Enter Name “remove-files-from-s3-job-queue”
- select the compute eneviroment created earlier You can leave the rest of the options anc click on the “Create job queue” button.
Create Job.
- Click on the menu icon on the left of the page and click on “Jobs”.
- Click on the “Submit new job” button
- On the “Configure job page”, enter the job name. In this case, I am entering, “remove-files-from-s3-job”
- Remember the Job definition we created earlier? Select that from the Job definition dropdown.
- Select the job queue we created earlier from the “Job queue” dropdown.
- In the “Container overrides”, we enter the command we want AWS Batch to run. Let us test that everything works by entering the following;
["aws", "s3", "ls"],
- Click “next” button to navigate the to the “Review and submit” page.
- Click the “Create job” button.
The status of the job will intially show, “submitted”, “starting” and finally “running”. If all goes well, the next status should be “succeeded”. If not, it will show failed. Batch will provide a link to cloudwatch under the “Log stream name” detail. This will either show you the output of your successful job run or reason for failure. If our job succeeded, you should see something like the image below;
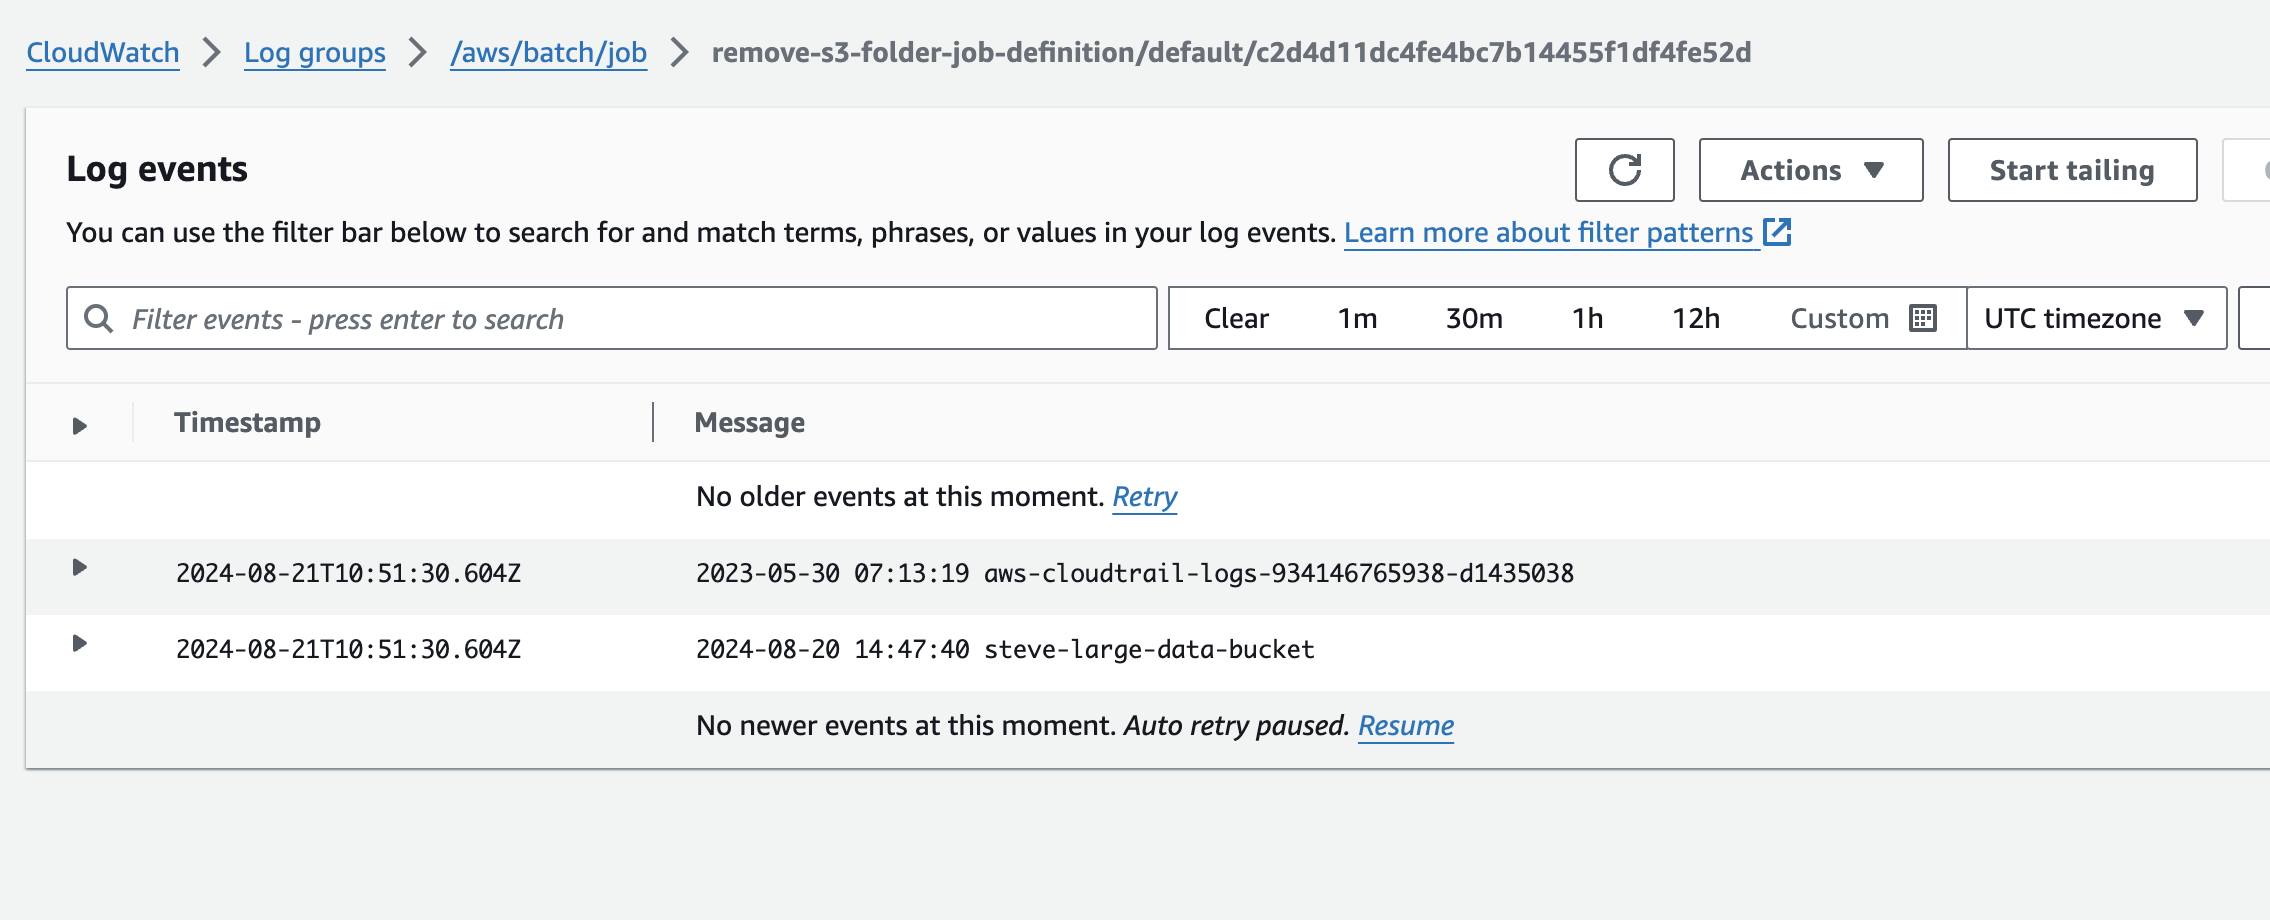
This shows the output of the command we gave our job so we know it works! Let’s now create a new job with the command we need to delete those files we uploaded to S3.
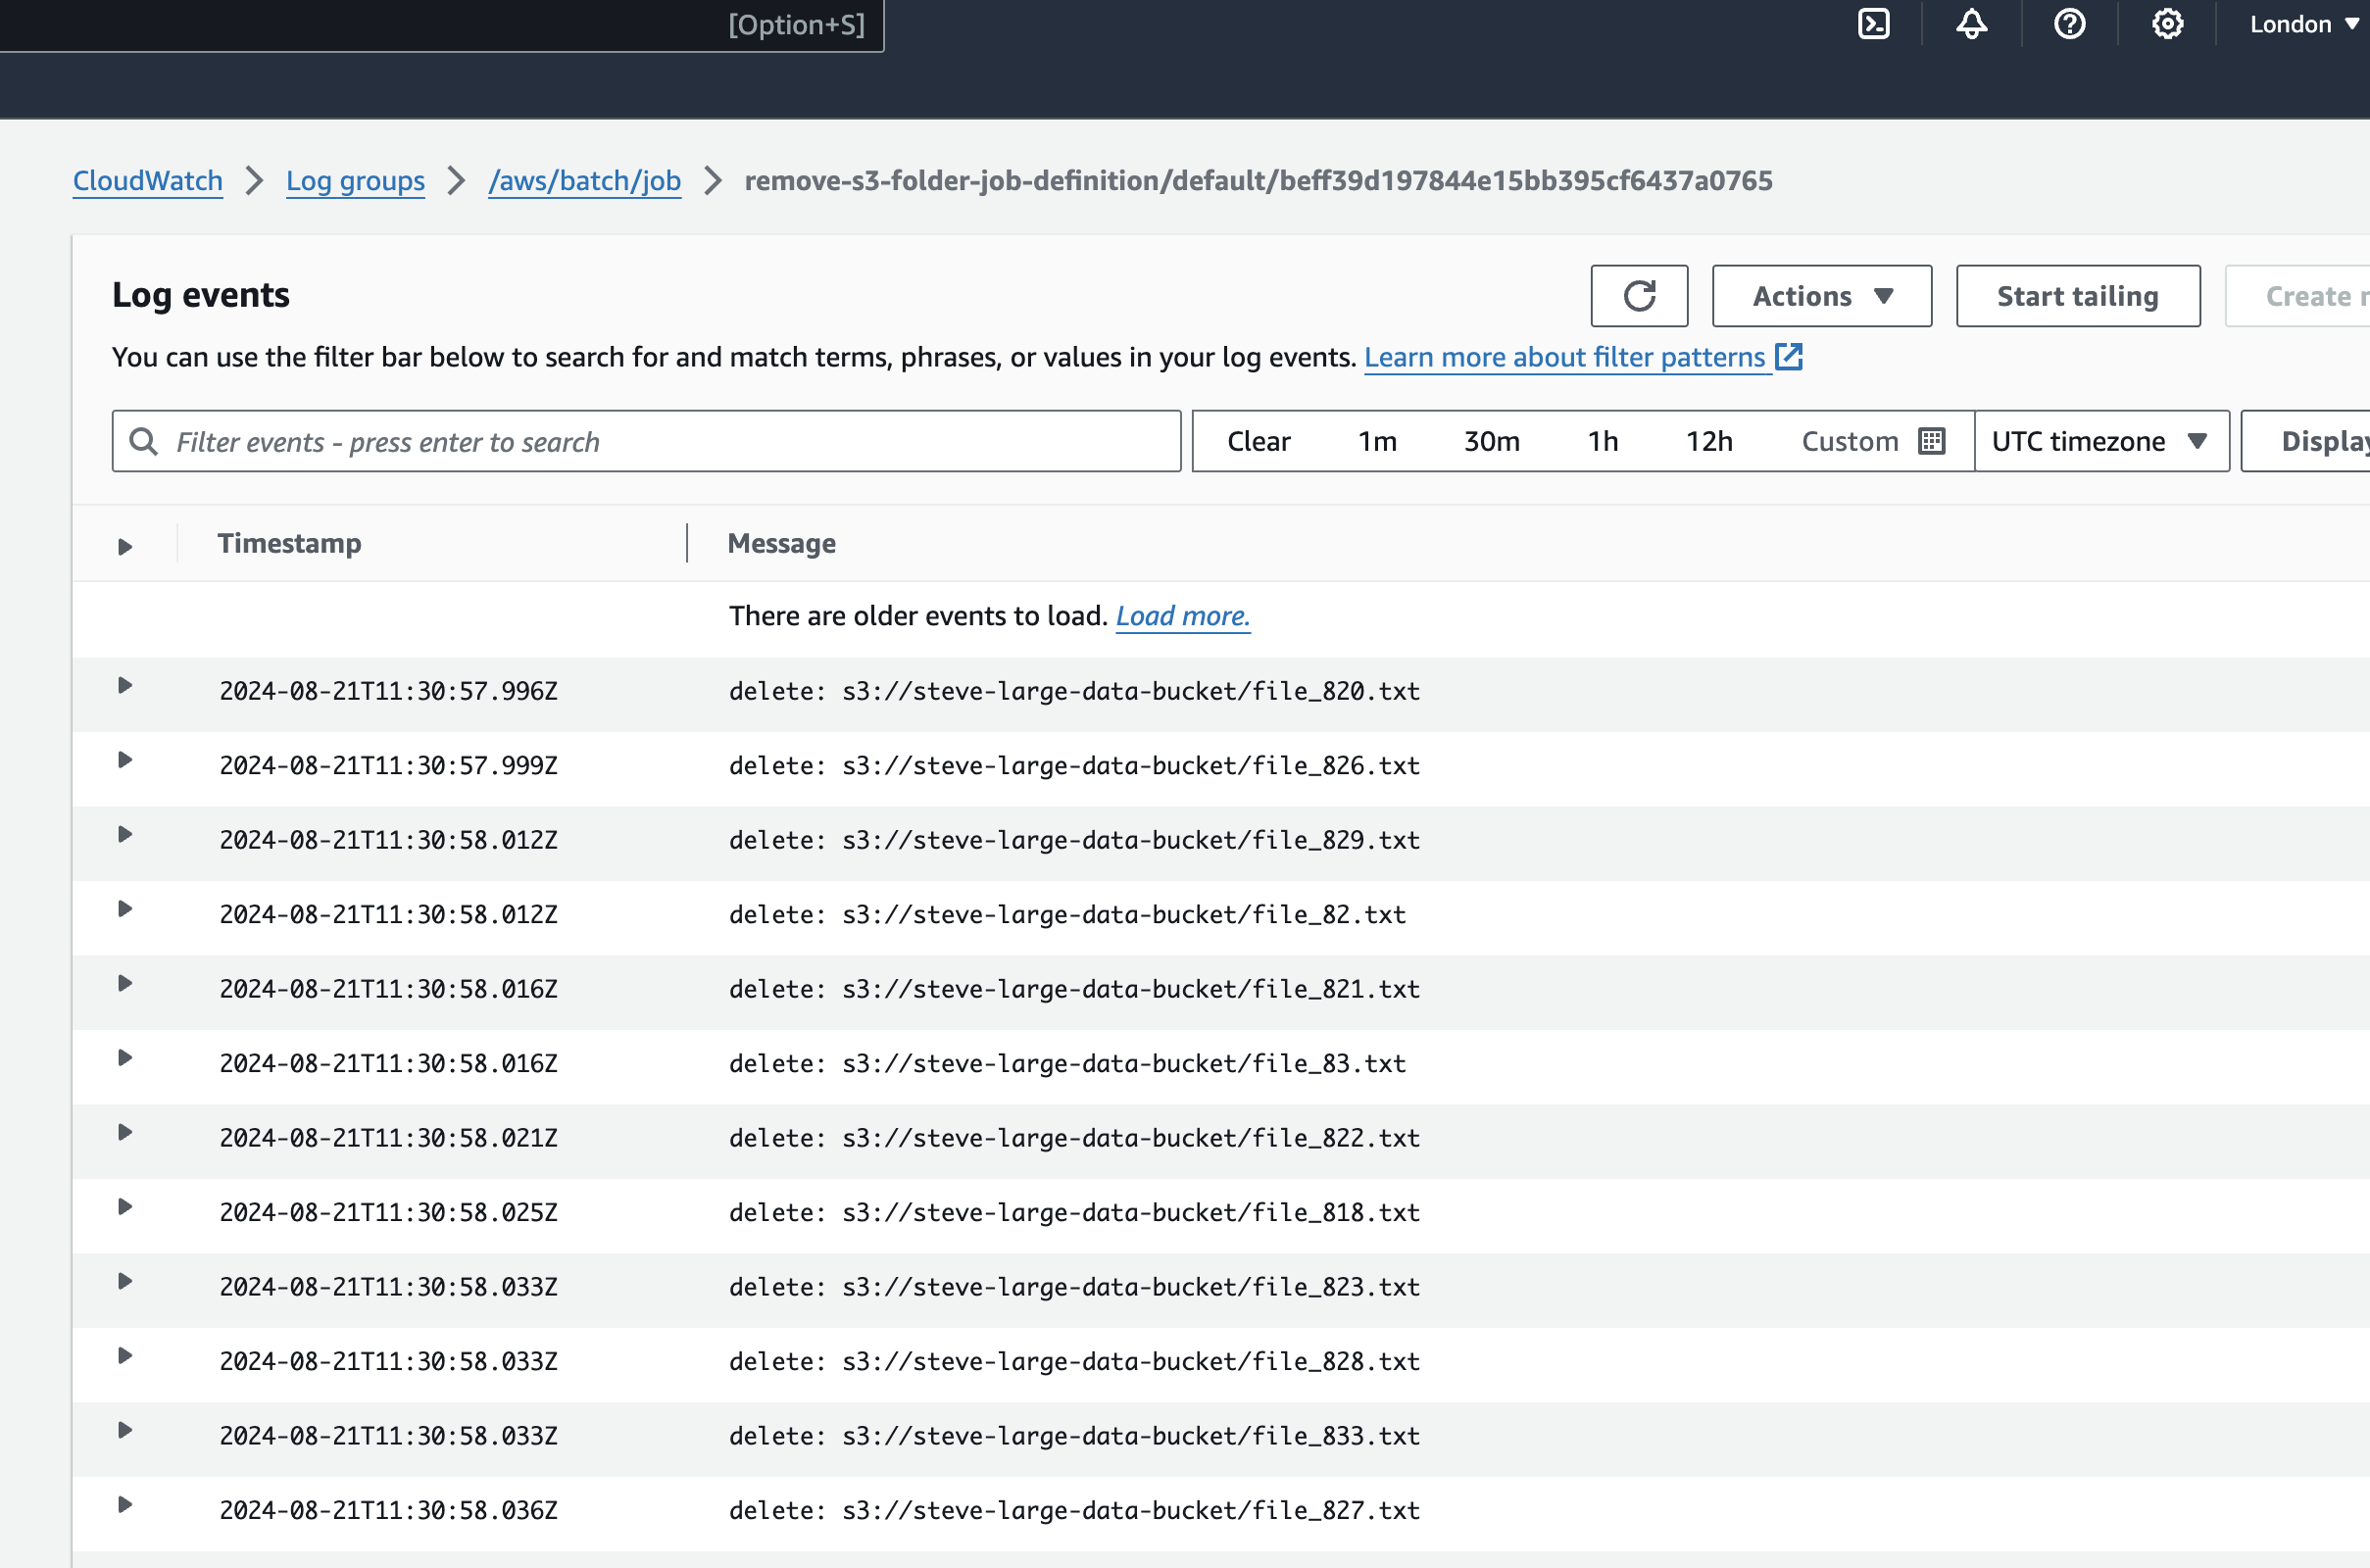
We will repeat the process of creating a job. You can use the same name as above “remove-files-from-s3-job”. Select the job definition and job queue as we did before. In the container overrides input, we will now enter the following;
["aws", "s3", "rm", "s3://steve-large-data-bucket", "--recursive"]
All that is left is to review and click on the “create job” button. And…job done!
Conclusion
This was just a simple example of how you can use AWS Batch for handling computing workloads. It simplifies and automates the execution of computing workloads by taking care of managing the underlying resources in a cost-efficient manner. Workloads can be as simple as our simulation above or as complex as processing hundreds or thousands of batch computing jobs.